Not so long ago we had a visit from our friend DIY Guy and his lad, Young Adventurer. They came to stay for a week during the school holidays, and I had thought they might like to have a bit of a quiet time pottering around the property and getting out and about in Whangarei. Instead we somehow ended up balancing atop ladders doing this:
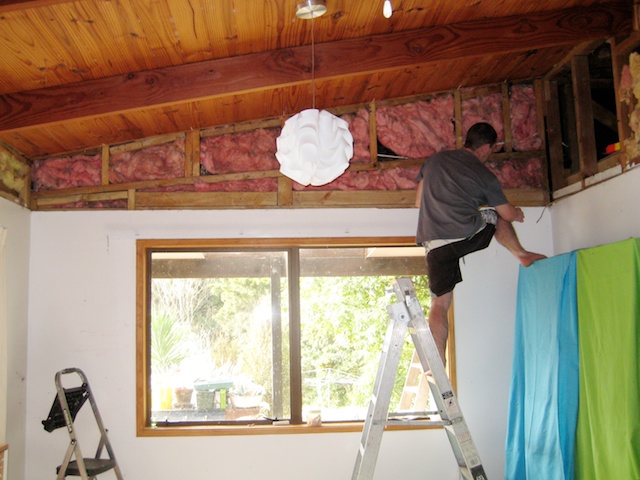
Taking apart and reconstructing walls.
As previously mentioned, we have rather a lot of pine in the farmlet house. The match-lined ceilings are a lovely feature, but for some reason whoever built the place also added tongue and groove pine cladding over the top part of all the walls. It was an odd choice since it obscures the lovely lines of the raked ceilings and visually lowers the height of the room by a couple of feet. I guess we’ll just file it under the heading ‘decor crimes of the eighties’. Anyway, I’ve been keen to get rid of that cladding since we moved in, and it turned out that DIY Guy was a willing accomplice.
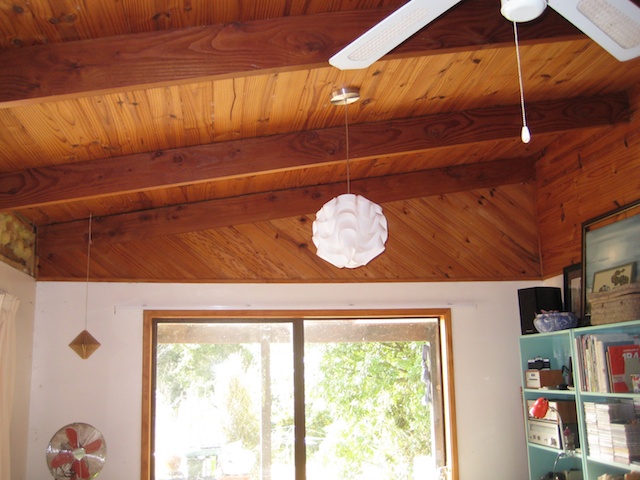
BEFORE: No. Just no!
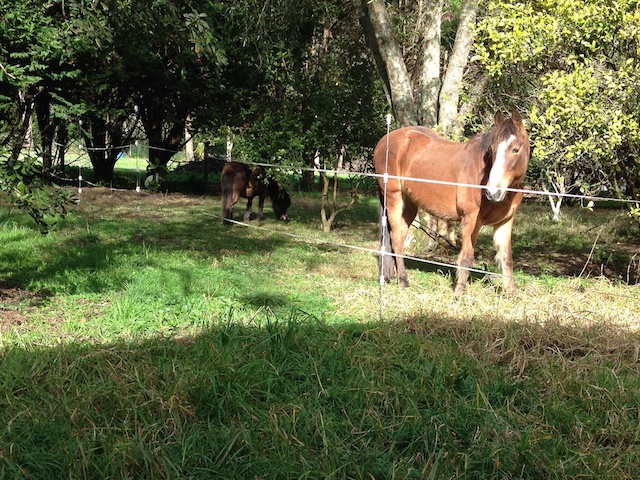
We started removing the paneling in the northern wing of the living room. (This house started as a much smaller building which was extended in the mid 1980’s. The living room finished up as an odd L shaped space. It’s hard to describe, but here’s a floor plan for you). Anyhow, it was the work of only 40 minutes or so to demolish the pine on the top of the first wall we tackled (you can just see that to the left in this photo). The remaining three were a decidedly bigger challenge, and required some serious effort from DIY Guy while I swanned off to work in the early part of the week. Please note, I would rather have been tearing walls apart, but feeding ponies and teenage boys requires dollars.
In a pleasant surprise we found during the deconstruction that the exterior walls here are insulated. In a less pleasant surprise we found several ancient rat skeletons embedded in the pink batts. Awesome! Never have I been so glad that our current rat populations have decided to make their home under the chicken house. It might lose us some eggs, but at least they are no longer living (or more to the point, dying) in our walls.
On Thursday morning, with demolition in the kitchen end of the living area complete, and rat remains having been removed, we were at Bunnings buying wallboard. It’s not the first time DIY Guy and I have helped each other out on gib-fixing projects at one or other of our homes (actually I owe him a few DIY hours), and once we got back to the farmlet we quickly fell into the familiar routine of measuring, scoring, snapping, and attaching gib to framing timbers. By the end of the week the walls looked like this, and I was so excited I had to keep walking into the room to admire them.
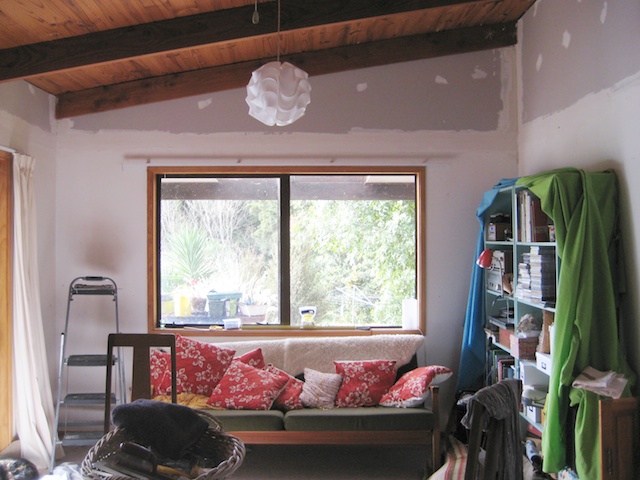
AFTER: Ready for gib finishing and painting.
DIY Guy put on the first layer of plaster, and now it’s my turn. I’ve only ever done a couple of small sections of plastering and don’t have much skill in that department, so it may be some time before I can blog about any painting. Ah well, I suppose I’ll never get better if I don’t practice.
What do you think? Would you have kept the paneling, or are you with me in unveiling the top part of the walls? And, because I can’t wait to think about paint, what colours do you suggest?
Meantime, should anyone have a hankering to build a sauna there are oodles and oodles of tongue and groove planks in the barn!
Living room expenditure to date:
- Light fittings $39.95 x 4 (Mitre 10): $159.40
- Dimmer switch (Bunnings): $28
- Gib (4 x 3.6m sheets) = $171.04
- Tradeset 90 (plaster) = $15.82
- 10kg tub of Plus-4 (jointing compound) = $39.20
- Gib screws = $22.15
- Help from a friend = priceless (and he brought cake too).
- Total so far = $435.61
