Here we are then, back to review the story of that scary looking hole in the kitchen I showed you earlier in the week. You might want to settle in with a cup of tea, this turned out to be rather a long post.
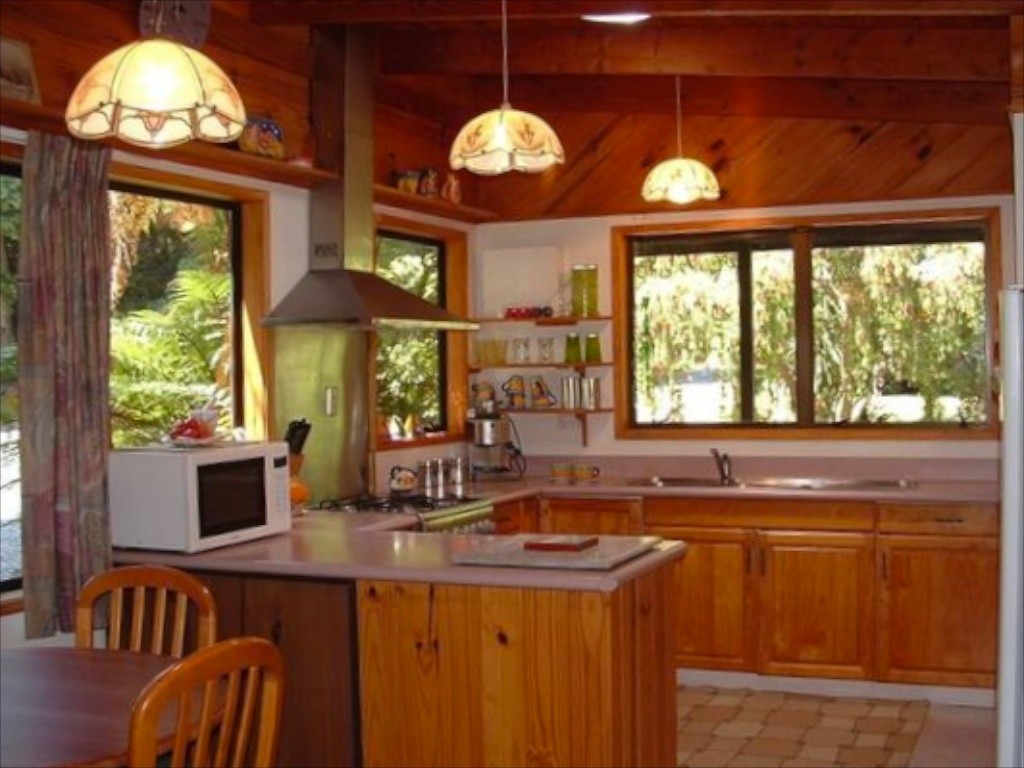
So, let’s start at the beginning. Here for your viewing pleasure is the kitchen at the farmlet as it was when we first saw the property. It doesn’t look too bad does it?
Indeed layout-wise it’s very convenient, with significantly more storage than our previous kitchen. There is even a huge pantry with lots of shelving (cue for major excitement on move in day).
On a less positive note the insides of the cupboards and drawers are made of melteca-covered chipboard which is breaking down and separating, and many of the doors are wobbly and don’t close properly. There is also a bit much orange pine for my taste, and the small matter of it being paired with a pink benchtop — yup that’s right. Pink! And orange!
These aren’t earth-shatteringly urgent problems to solve, but since our kitchen is a space that’s constantly in use (we have a teenage boy to feed y’all), it would be nice to have:
- Cupboard doors that function smoothly;
- Cupboard interiors that are easy to wipe clean;
- A space that looks just a little less like the 1980’s might roll up and claim it back.
So, I have PLANS. Not wildly expensive plans mind, not replacing the whole shebang plans, at least not this decade. I’m thinking along the lines of new hinges on wonky cupboard doors, and replacing the worst of the cabinet insides with painted plywood. Oh, and a decor reboot.
How about dark paint, white tiles and a wooden benchtop? Don’t hold me to that though, it could all change in the click of a mouse across a Pinterest board.
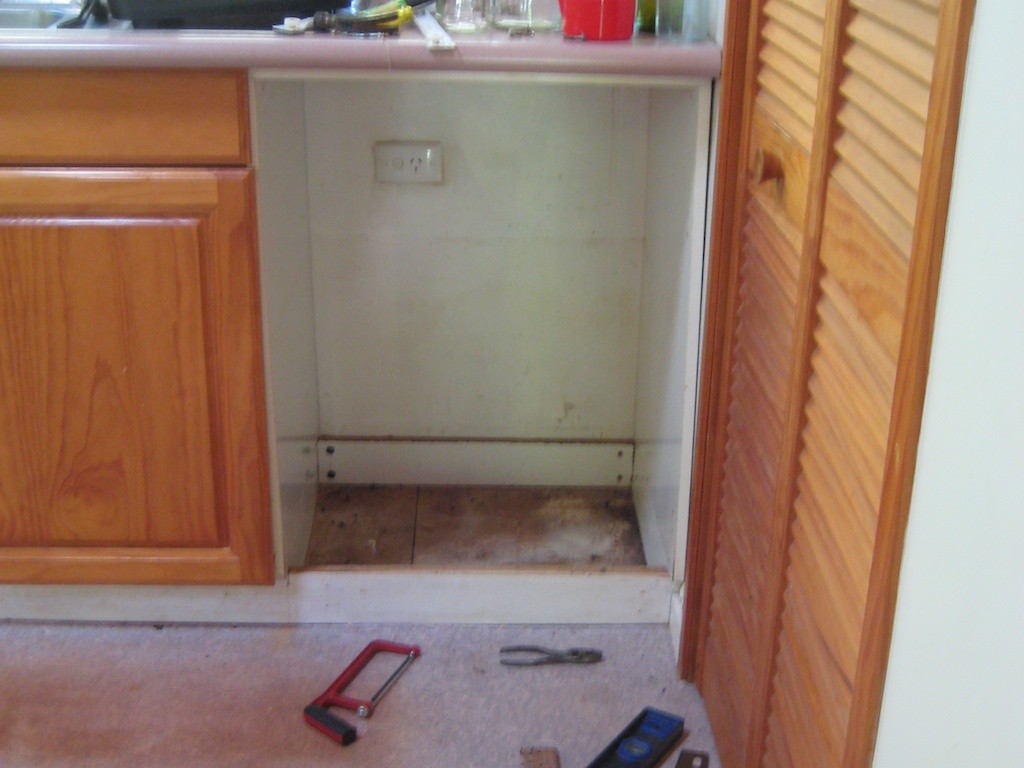
OK, now I’ve brought you up to date let’s talk about that poorly photographed hole in the kitchen?
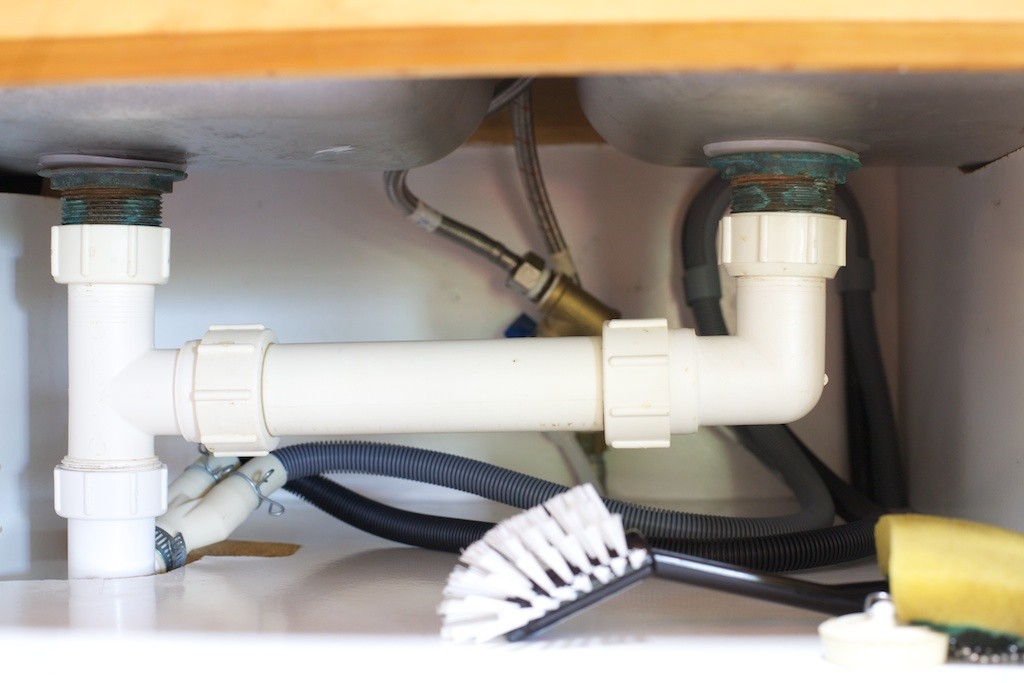
That, my friends is where my first function-improving upgrade is now sitting. I ripped out a drawer and a cupboard with my bare hands (and a selection of sharp tools). After which came some adventures in plumbing, during which I discovered that when joining butylene pipe to a brass tee connector you don’t need to use thread tape.
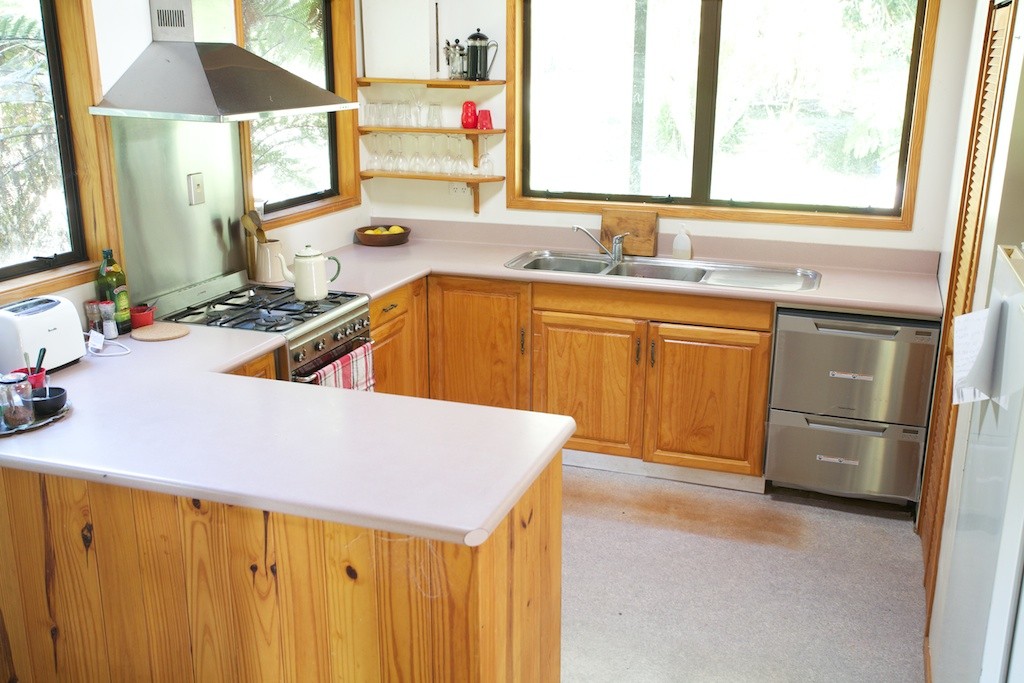
Well. Really! I had thought that all plumbing joints needed thread tape. Thus when the connector leaked I applied more tape, and then more, until I gave up and resorted to the ‘ring a friend’ strategy. Bless him — the leak was immediately solved by removing all that tape, and this gleaming kitchen helper was plumbed in…
Welcome home dishwasher. Boy, have we missed you! I’m leaving your protective plastic in place for now as there is a little bit more jiggery pokery happening this weekend to sort out a power supply. Then we’ll load you up, press the buttons and walk away. And just in time for a new season of Game of Thrones.
* Yes, of course I tidied the kitchen before I took that photo. You think it normally looks like this?
Kitchen expenditure so far:
- Secondhand Smeg stove (Trade Me): $350.00
- F&P dishwasher (Harvey Norman): $1678.00 (ouch)
- Plumbing parts for d/w installation: $31.00
- Subtotal spent so far = 2059.00
- Income from selling the stove that came with the house on Trade Me: -$246.00
- Total spent to date = $1813.00


You plumbed your own dishwasher?! I am SOOO impressed!! (I had to get a plumber just to reconnect my washing machine …)
Thank you, lucky I had phone advice though. Now if only I could make beautiful blankets like you do 🙂
And I have put down my crochet hook. To take up sock knitting, because I was unable to resist the beautiful self stripping sock yarn you can order with the click of your mouse. AND OMG Kaffe Fassett has a line of self stripping sock yarn! Swoon!!!
Thought you should know … http://www.sockyarnshop.com/product/regia-sock-yarn-design-line-kaffe
Beautiful. Bet you are knitting your socks in ‘Sizzle’? Just right for winter with your red boots.
No actually, the postage from the UK is a bit daunting! But if I saved up …
Maybe you have a birthday coming up?
go the jiggery pokery!
Yes, a bit of hocus-pocus, and Bob’s your uncle.